
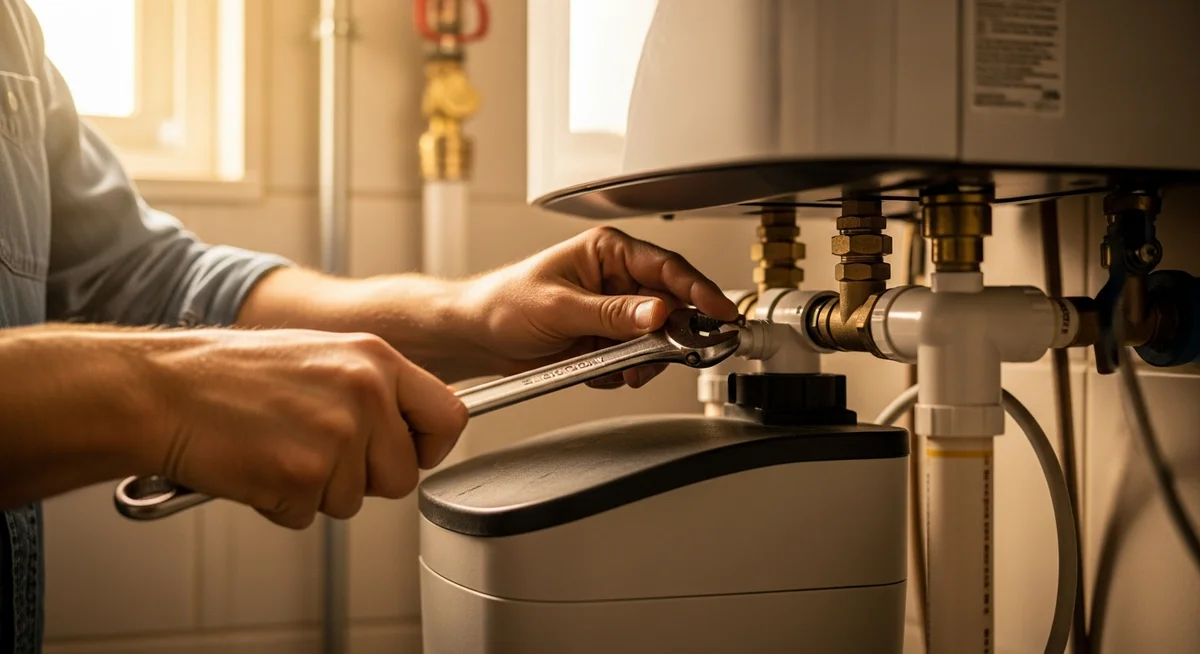
WHAT YOU NEED TO KNOW
Installing your own water softener saves significant labor costs, but you must have basic plumbing skills and local code awareness to avoid expensive leaks.
- Learning how to install a water softener allows you to save on plumbing fees while completing the project in two to four hours.
- Expected material costs for a self-installed unit range between $400 and $1,200 in 2026, depending on the grain capacity (typically 30,000 to 40,000 grains for average households).
- Hiring a licensed professional plumber typically adds $500 to $1,500 in labor fees, making a self-installation highly economical if done correctly.
Your primary challenge will be aligning the bypass valve with your existing copper, PEX, or PVC pipes without introducing pressure drops or leaks.
Is Water Softener DIY Installation Right for You?
Deciding whether to tackle a diy water softener install depends on your comfort level with cutting pipes and sealing plumbing joints. If your home has pre-plumbing loops already installed, the process is straightforward and requires very few tools. Without pre-plumbing, you must cut into your main water line, which carries a risk of home flooding if a connection fails. France Rénov’ suggests that minor plumbing upgrades can be done by homeowners, but complex modifications affecting the main supply often benefit from professional oversight.
If you are dealing with rigid copper pipes that require soldering, hiring a plumber is highly recommended to ensure safety and code compliance. You should also consult your local municipality or plumbing authority before starting, as some regions require a permit for main line modifications. Do not hesitate to call a pro if you feel unsure about cutting your main water line.
Tools and Equipment Needed
Before starting, gather the correct gear to avoid mid-project trips to the hardware store. The required tools vary slightly depending on whether you are working with copper, PEX, or CPVC pipes. Having everything ready ensures you can complete the work without leaving your home water supply turned off for too long.
- Pipe cutter (tubing cutter for copper or plastic shears for PEX)
- Two 1-inch NPT female connectors and matching pipe adapters
- Teflon tape or high-quality pipe thread sealant
- Flexible plumbing connector hoses (stainless steel braided hoses are easiest)
- Drain line tubing (typically 1/2-inch inner diameter) and hose clamps
- Screwdriver, adjustable wrenches, and a utility knife
- Water softener salt (sodium chloride or potassium chloride)
- Sanitizing agent (such as unscented household bleach)
Choosing the Best Location to Install Your Water Softener
Finding the right spot is critical for both the performance of your system and the ease of maintenance. You must place the unit at the earliest possible entry point of the water supply to protect your entire home. Keep in mind that you must still follow local plumbing regulations regarding clearance and accessibility.
- Install upstream of the water heater: Always place the softener before the water heater to prevent hot water from backing up into the resin tank and destroying the system. According to the French environmental agency ADEME, keeping your water heater free of scale can significantly improve heating efficiency.
- Provide freeze protection: The location must be climate-controlled, as freezing temperatures will crack the plastic valves and ruin the resin.
- Ensure access to a drain: You need a nearby floor drain, standpipe, or laundry tub to handle the backwash water during regeneration cycles.
- Locate near a power source: The control valve requires a dedicated, continuous 120-volt grounded outlet that is not controlled by a wall switch.
How to Install a Water Softener: Step-by-Step
This water softener installation guide details the step-by-step process of mounting and connecting your new appliance. Follow these phases carefully to ensure a durable, leak-free installation.
1. Shut Off the Water and Drain the Lines
Locate your home’s main water shutoff valve and turn it off completely. Open the lowest faucets in your house, such as basement taps or outdoor hose bibbs, to drain the remaining water from the pipes. This step prevents water from spilling everywhere when you cut into the supply line.
2. Install the Bypass Valve
Most modern systems include a bypass valve that allows you to divert water around the softener for garden watering or maintenance. Mount the bypass valve directly onto the back of the water softener control head according to the manufacturer instructions. Secure it with the provided clips or screws, ensuring the O-rings are lubricated and seated correctly.
3. Connect the Softener to the Water Supply Line
Cut into your main water line after the main shutoff valve but before any branch lines feed your water heater. Connect the incoming hard water line to the inlet side of the bypass valve, and the outgoing soft water line to the outlet side. Use flexible stainless steel connectors to make this step easier and to accommodate minor alignment errors.
4. Connect the Drain Line and Overflow Tubing
Run a 1/2-inch drain line from the valve head drain port to your chosen drain point, keeping the run under 30 feet long. Ensure there is an air gap of at least 2 inches between the end of the drain line and the drain receptor to prevent back-siphoning. Connect the safety overflow tube from the brine tank to a suitable floor drain to prevent flooding in case of a valve malfunction.
5. Connect and Prepare the Brine Tank
Check the connections between the brine tank and the main resin tank, ensuring the brine well is secure and the float assembly is free to move. Pour at least 3 gallons of clean water into the brine tank, then fill it at least half-full with high-quality water softener salt. Use pure salt pellets rather than block salt to prevent bridging and clogging.
6. Perform a Leak Test and Sanitize the System
Put the water softener bypass valve into the “bypass” position, then slowly turn on your main water supply valve to check for immediate leaks. If no leaks appear, open the bypass valve slowly to let water enter the softener resin tank while venting air out through a nearby cold water faucet. Add 1 to 2 ounces of household bleach directly into the brine well to sanitize the system before its first use.
7. Program the Control Valve and Start Regeneration
Plug the control valve transformer into your dedicated 120-volt electrical outlet. Program the current time, your local water hardness level (measured in grains per gallon), and the regeneration frequency. Initiate a manual regeneration cycle to flush out the sanitizing solution and prime the resin before using the water for drinking or bathing.
Quick Post-Installation Checklist
Once your how to install a water softener system project is complete, perform these quick checks to ensure everything runs smoothly. Regular observation during the first week prevents major issues.
- Check for slow leaks: Inspect every joint, valve connection, and drain line junction 24 hours after installation.
- Verify regeneration drain flow: Watch the first automated cycle to ensure water flows freely through the drain line without backing up.
- Test water hardness: Use a simple chemical test strip 48 hours after installation to verify that the soft water outlet reads near zero grains.
- Monitor salt levels: Ensure the salt level remains above the water level inside the brine tank, checking it at least once a month.